Main Breeding Customs Markings Mutations Dyes Pear Tree Upgrade Guestbook Affiliates Main Breeding Customs Markings Mutations Dyes Pear Tree Upgrade Guestbook Affiliates
|
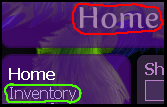
Here I will explain how to go about using a dye on your waja. First, click "Home" (circled in red), then on the "Home" menu, click inventory (circled in green).
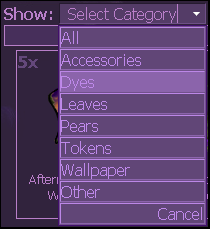
This will take you to your inventory, where you may select the dye of your choice. If you have a large inventory, it appears that eventually we will have the option to view only the dyes in our inventory, in the same way we may view only our pears, accessories, etc.
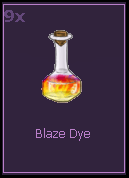
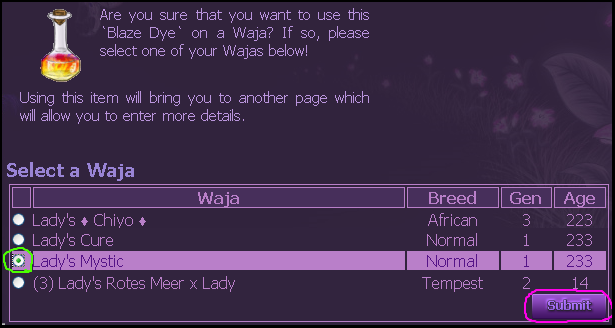
For this example, I will be using a "Blaze" dye.
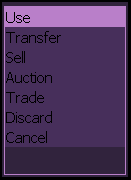
Click your dye, and you will be given the following options. Click "Use" to proceed, or "Cancel" to cancel.
You will then be taken to a page where you will select the waja you wish to dye.
Click the white circle next to the waja you wish to dye in order to "check" it. (Circled in green)
First, you will want to write in the hexadecimal code of the color you wish the dye to be. (circled in red) Next, choose the layer you wish your dye to be on by once again "checking" a circle (circled in green). Layers are ordered from bottom to top. In this case, I have selected the blaze to be placed above the "Mud" marking, and below the "Heart Cape" marking. You will notice that the "Preview" box (circled in green) is checked. As long as this box is checked you are in preview mode, and may preview how your waja looks by clicking submit, each time you change something, as many times as you like. When you are done, uncheck this box to enter finalization mode, and click submit to complete your waja! |
All content and graphics are copyright to their original owners! �2007- 2008